Pages

Wednesday, April 4, 2012

Genetics

It is a well known fact that we inherit our genetic makeup from our parents who in turn inherited their genes from our grandparents.   It seems reasonable to me to assume that I was born with genetic potential to be similar in many ways to my ancestors.  Don’t panic…this is not a science post. 
Basically I’m talking about the gardening gene.  My grandfather was a farmer his whole life.  My dad loved to garden.  He was a farmer who moved to the city out of necessity but he never stopped growing things.  He always planted a garden and had beautiful flowers where ever we lived.

This picture of my dad isn’t that great but you can get an idea of the pink and white stripped petunias that he loved most.
  My sisters all love to garden and have beautiful yards.  One of my brothers raises a big garden of vegetables every summer.   Even the butterflies want to be in Jacque and Beverly’s garden.


Me - not so much.   I don’t know if the gardening gene skipped me or if I just have not developed my potential in that area.  Oh, yes I have occasionally tried to grow things but plants seem to realize that they have a novice in charge and the race to see how fast their leaves can drop off.  I think it has to do with water and talking to them. 
So now that I am retired and have time to “stop and smell the roses” I’ve decided to give my gardening gene another chance to emerge from the oblivion that has overtaken it.   Ok - really I have been on Pinterest again and have seen so many great ideas for container gardens I just had to give it a try.  Keep your fingers crossed for us and maybe remember these pretty little flowers in your prayers. 

What is in your genes?  We all have genetic potential when we are born.  It is up to us to take that potential and make it become part of who and what we are.  I don’t expect to be the world’s greatest gardener but I do think I can be a better gardener than I have been – after all – it’s in my genes.

Tuesday, April 3, 2012

Our New Look

We've made some changes around the blog and I feel we would be ungrateful not to give credit where credit is due!  Kassie from Designs by Kassie was so lovely to work with and did a great job conveying exactly what we wanted!  We are incredibly excited now to move forward in this new adventure with a whole new look!  I kind of feel like getting the blog makeover was like when you get a new outfit or a new purse - you always feel awesome and ready to take on the world when you are wearing a shiny new outfit!  So - thanks Kassie for all your hard work!!  We love it!! 

Monday, March 26, 2012

Obsession

Why do some words evoke such negative images?  Obsession is generally implied as a negative thing but to me obsession can be beautiful.  Take my latest “obsession” with decorating plastic eggs. 
These decorated eggs are so easy and inexpensive you will want to make dozens of them.   This can be a fun project to do with your kids, friends, or just enjoy creating them yourself.  They make great gifts.
Supplies
Check out your stash before you go shopping since you may already have most of what you need. Here’s the supply list:
- Plastic Eggs (various sizes) – It is perfectly ok to take a few from the kiddo’s Easter basket from last year.  Just be sure they are clean and empty.
- You’ll need crochet thread, embroidery floss, or yarn to wrap the eggs.  (I used the cotton yarn I had left over from the dish cloth obsession I had a few months ago…. There is that beautiful word again.)
- Ribbon, buttons, flowers or other embellishments to decorate the eggs
- All purpose glue that dries clear
- Hot glue and glue gun
- Scissors
- Wire Cutters
- Paper Tubes (I use the core of toilet paper rolls or paper towel rolls)
- Straight pins or toothpicks
- Damp Sponge or cloth
There are basically three easy steps to create a beautiful decorated egg.
First – Prepare the eggs
I usually prep several eggs at once because it is just like a bag of chips…you won’t be able to make just one.
Open the eggs and run a thin bead of the glue around the middle edge then snap the egg together.  Smooth the glue that pops out around the center of the egg.  Wipe your fingers on the damp sponge.  Set the egg aside to dry and move on to the next one. 
Use your wire cutters to clip off the tiny little hinge that holds the egg halves together.  Be careful not to squeeze hard enough to pop the eggs open.  If the egg does pop open the world still spins through space but you need to re-glue the pieces together.
Second – Cover the Eggs
Apply white glue to the broad end of the egg. 
Begin to apply the yarn being careful to coil the thread tightly.  I find it is easier to balance the egg on a stand (TP core cut down to a comfortable work height) during this step.  I also use a pin to help coil the first couple of rounds because it saves getting glue all over my fingers. 
Continue adding glue as needed.  I find it is best not to get too far ahead with the glue because it dries out and the yarn doesn’t stick as well.  As you continue to coil the yarn around the egg use your finger to gently push the coils together to avoid gaps.  Wipe your fingers often on the damp sponge.  Slightly damp fingers don’t pick up the glue so your fingers don’t get sticky.
At the end clip the yarn, then using a pin, tightly coil the yarn so that all the egg is covered.   I usually place a small dot of glue on the tip and press gently with my finger to seal all the threads in place on the ends.  The glue will dry clear so you don’t see it.
Third – Decorate the Eggs
Now you can let your creativity run wild.  Use your hot glue to attach ribbon, buttons, lace, flowers, or whatever your imagination can dream up.  I used a lot of my scrapbooking supplies because they are flat and easy to attach with the hot glue. 
Finally, display your eggs.  I placed some in a basket I crocheted (another recent obsession) but some of my favorites I placed as a centerpiece on my coffee table.  I needed different heights so I used some of my pretty crystal wine glasses (we don’t drink wine so it was a good use for them)and glass candle sticks.  I also had some fancy crystal napkin ring holders which I have never used so I brought out a few of those as well. 

Yes, I do believe obsessions can be beautiful. 

Sunday, March 18, 2012

Girls Night Out Event in California

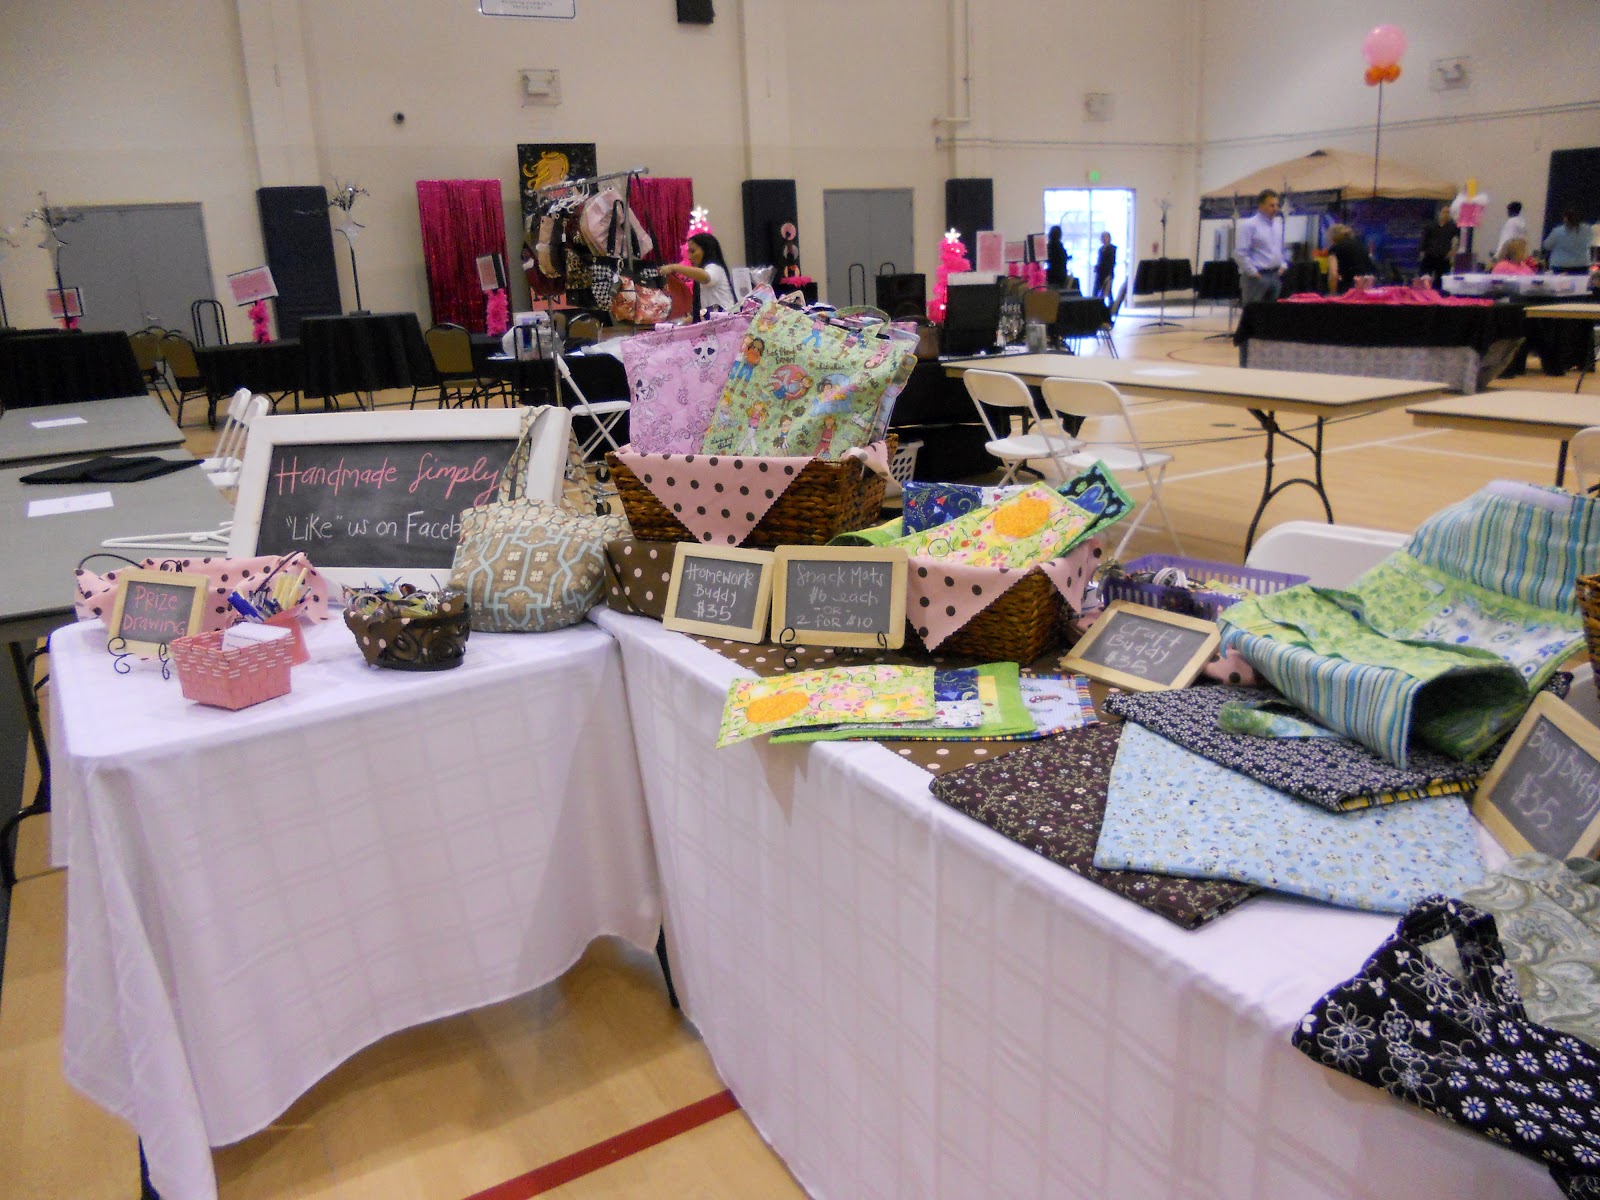
Sorry for the lack in blog posts but, we have been super busy preparing to unveil our products at an event being held in California.  The Elk Grove CSD held a Girls Night Out Event on Friday, March 16.  We had a great time, it was a successful evening and now it's back to business!

Here are some pictures from the show!


Keep checking back here for information on our Etsy shop debut! 

Friday, March 2, 2012

I L.O.V.E Bags!

I love bags, totes, purses, you name it.  I never feel like I can have enough (although, I'm pretty sure my husband would say differently).  Even those reusable grocery bags are on my list of favorites.  They make them so cute, I sometimes just can't resist.  I have a whole bag (imagine that) full of them in my sewing room.  You could for sure say I am a bag hoarder.  I will totally admit that I even keep the paper shopping bags you get from Loft, Express, Anthro, etc, etc, etc.  I just really like bags.  It's an obsession. 


A few months ago I found the Sweet Scallops Tote tutorial (try saying that three times fast - sweet scallops tote tutorial, sweet scallops tote tutorial, sweet scallops tote tutorial...) from See Kate Sew and absolutely fell in love.  It's so cute and girly and really open for interpretation.


Just by changing the fabrics you can change the whole feel of the bag...plus it's a great scrap buster and heaven knows I can always use a scrap buster project!!  Aside from bags, that's another thing I love!  Fabric!!
So - now i have another bag to add to my collection and I'm sure it won't be the last!

P.S - Don't judge us by our awesome photography skills, we are really hoping to get better as time goes on but we all have to start somewhere!!

Thursday, March 1, 2012

Tutorial: Spring Wreath

Here in Northern California it is hard to know for sure what season it is.  We have had perfect spring weather most of the last 3 months then this afternoon it took a definite turn back to winter.  So when it gets windy, cloudy, and cold outside what does a crafty soul do?  She crafts a cheery Spring Wreath!  Ok, ok, cold is a relative term but when you go from mid 70’s to the low 40’s in 24 hours it feels dang cold.

I’ve always been a fan of wreaths.  There is something about the never ending circle that opens up endless possibilities… so when I was looking at my somewhat bare looking wall I felt like it was crying out for a wreath.  I started to play around with some things I had bought recently to see what I could come up with to fill in the big gaping hole on my wall and this is what I ended up with.
Here are the things you need: 

1         14” Straw Wreath
2         About  one half yard fabric
3         Some straight pins and/or greening pins
4         Some coordinating ribbon
5         Some seasonal silk flowers and picks
6         A picture hanger

Step 1.  Prepare the Fabric
Cut or tear the fabric into 3 inch strips.  I tore the fabric because I like the look but you could use pinking shears or a rotary cutter as well.
Sew the strips together along the short ends to form one long strip.
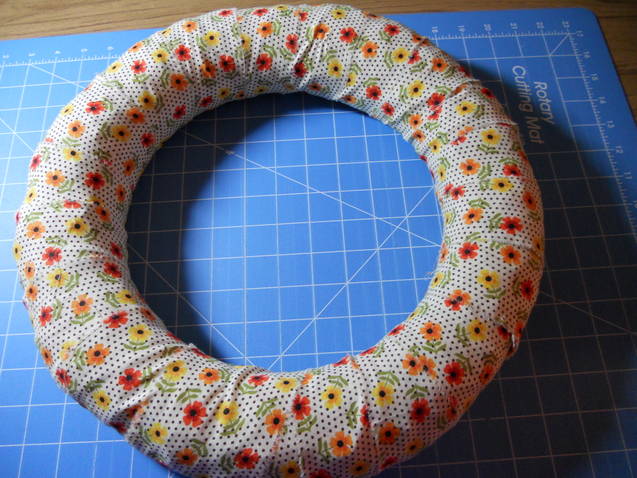
Step 2.  Cover the wreath with the fabric.
Starting on the back side of the wreath pin one short end of the fabric to the wreath at a slight angle and begin to wrap the fabric around the wreath. 

Keep the fabric tight and wrap at an angle overlapping the fabric about ½ inch as you wrap.
When the whole wreath is covered secure the fabric on the back side using pins.   

Step 3 .  Attach Ribbon
Beginning on the back side, attach the ribbon to the wreath using a pin.  Be sure to angle the ribbon a little more sharply than the fabric. 
Wrap the ribbon around the wreath at an angle leaving approximately 3 inches between the wraps.
Secure the ribbon on the back side with another pin.
Step 4.  Finish up
Start by by attaching the picture hanger….just a quick note, I used a sawtooth picture hanger that can be easily pushed into the straw wreath.  You could also use a greening pin.
Next attach the silk flowers and picks using greening pins.  I found these really cool flowers the have clips on the back side so I can easily change the flowers for roses in the summer and sunflowers in the fall without having to totally reinvent the wreath.

Now we have come full circle and you can hang your completed wreath and cheer up a dreary day.

Saturday, October 15, 2011

Working our fingers to the bone!

Hello there!  I just wanted to get out here and let you all know that we are working away trying to get things ready to open up the Etsy shop.  It's a long process and all very new to us so we hope you will bear with us as we travel this journey! 

While I'm here I figured I'd show you some of the things I have been working on! 

I've never been a huge fan of Halloween. I didn't hate it but I wasn't in love with it either - just neutral.  For some reason, this year I have grown a HUGE love for the holiday/season. I am guessing it's because of all of the amazing inspiration out there!

First up these pumpkins.  I have to mostly give credit to my husband for these.  I told him what I wanted and he took off with it!  Aren't these awesome?  I found my inspiration at
Crafty Chic Mommy, I just did a larger version of what she did so that I could put them on my porch! Love!
Next my mantle - Last year I loved a post I saw at
House of Smiths of her Halloween decor and remembered that for this year as I was decorating.  I am loving the way it turned out!

Along came a spider printout - here
Halloween Subway Art - here
Circus font for banner - here
This is one of my most favorite additions to my Halloween decor!!  I ordered these custom fonts from
The 36th Avenue.  My husband cut out the wood and I painted them black and then stenciled them white.  I took inspiration from the examples on her website and made a hair clip for mine and a bow tie for my husbands.  Easy peasy and so cute!!

Order yours here!
And finally my most recently finished project, I gathered inpiration from a post I saw on Love Stitched.  Instead of doing words I decided to do spider webs!  So much fun!
Hope you've enjoyed this little tour of Halloween decor!  Stay tuned for more info on the opening of our Etsy shop!